Can Sleeping Pads Be Repaired
You can repair most sleeping pad damage yourself with basic tools and proper techniques. Small punctures from thorns or rocks (1-3mm), slow air leaks, minor tears under two inches, and valve malfunctions are all fixable using waterproof patches and outdoor-grade adhesives. Essential repair kits contain self-adhesive patches, specialized adhesives, and rubbing alcohol for surface preparation. Detection methods include soapy water bubble tests and submersion techniques. However, large tears exceeding two inches or multiple punctures may require professional evaluation for ideal restoration.
We are supported by our audience. When you purchase through links on our site, we may earn an affiliate commission, at no extra cost for you. Learn more. Last update on 16th January 2026 / Images from Amazon Product Advertising API.
Notable Insights
- Most sleeping pad damage like small punctures, slow leaks, and minor tears under 2 inches can be successfully repaired.
- Basic repair kits with fabric patches, outdoor-grade adhesives, and cleaning supplies are essential for effective repairs.
- Proper repair requires thorough cleaning, surface preparation, and methodical adhesive application with adequate curing time.
- Leak detection using soapy water tests helps identify damage locations and verify successful repair completion.
- Large tears over 2 inches, multiple punctures, or internal damage require professional repair services or replacement.
Types of Damage That Can Be Fixed
While sleeping pad damage might seem like a camping trip-ender, most common issues can actually be repaired in the field or at home with the right techniques and materials.
Small punctures from thorns or rocks represent the most fixable damage type. These holes typically measure 1-3mm in diameter and respond well to waterproof materials like urethane-based adhesives.
Slow air leaks can be located using soapy water bubble tests. Minor tears under 2 inches often seal permanently with proper patch application.
Valve malfunctions usually stem from debris accumulation and require simple cleaning procedures. After completing any repair, you should test at home by inflating the pad and weighing it down to ensure the fix holds under pressure.
However, baffle weld failures present complex challenges. These internal seam separations compromise structural integrity and demand specialized home repair techniques or professional intervention to restore full functionality.
Foam sleeping pads offer a reliable alternative that eliminates puncture concerns entirely, though they may sacrifice comfort compared to their inflatable counterparts.
Essential Tools and Materials for Repairs
You’ll need specific tools and materials to repair your sleeping pad effectively, whether you’re making quick field fixes or permanent home repairs.
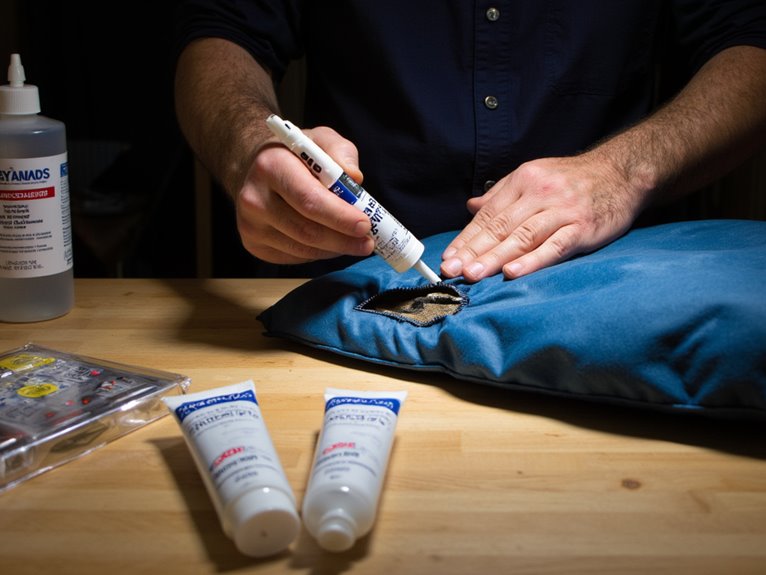
Your basic repair kit should include fabric patches like Tenacious Tape, outdoor-grade adhesives such as Gear Aid Seam Grip WP, and cleaning supplies like a spray bottle and towel. Many repair kits include two-inch square patches and adhesive for convenient field repairs.
The quality of your adhesives and bonding agents determines repair durability, while field repair essentials focus on portability and quick application times. For larger tears on sleeping pads, wet adhesive repair kits with fabric patches provide the strongest and most long-lasting results.
Basic Repair Kit Components
Having the right repair tools and materials ready transforms a punctured sleeping pad from a camping disaster into a manageable inconvenience. Quality repair kits contain self-adhesive patches and specialized adhesives engineered for inflatable gear.
Tenacious Tape represents the gold standard for patch durability, offering superior bonding strength compared to generic alternatives. Essential components include rubbing alcohol for surface preparation, ensuring maximum adhesion between patch and pad material.
Detection tools comprise a basin, mild soap, and sponge for creating leak-locating solutions. Scissors allow precise patch sizing, while markers enable accurate leak marking.
Professional repair kit recommendations emphasize ultralight field versions containing alcohol wipes and self-adhesive patches. Ultralight repair kits typically weigh only 2 oz, making them practical additions to any backpacking gear loadout. Thorough home kits include fabric patches, multiple adhesive types, and larger repair materials for extensive damage scenarios. The Aquaseal FD Repair Kit provides comprehensive solutions for permanent repairs at an affordable price point.
Adhesives and Bonding Agents
How effectively your sleeping pad repair holds depends entirely on selecting the right adhesive for your specific pad material and repair conditions. Different adhesive types offer distinct advantages for various repair scenarios.
Urethane-based adhesives like Seam Grip WP Sealant provide superior bonding strengths for permanent repairs, delivering waterproof seals that withstand pressure and movement.
Aquaseal FD Adhesive creates durable bonds in air mattress patch kits. For quick field fixes, Aqua Seal UV offers rapid curing on fabric-covered pads.
Silicone-based adhesives excel in flexibility but sacrifice some bonding strength compared to urethane options.
Avoid epoxy-based adhesives entirely-their rigidity causes cracking under stress.
Essential characteristics include waterproof properties, chemical resistance, and flexibility.
Clean surfaces thoroughly before application and follow manufacturer curing times for ideal bond strength. Always allow rubbing alcohol to evaporate completely before applying any adhesive to ensure optimal surface preparation.
Field Repair Essentials
While selecting the proper adhesive guarantees lasting repairs, carrying the right field repair essentials determines whether you can execute those repairs effectively when problems arise.
Your repair kit must contain specific materials sized for emergency scenarios when you’re miles from civilization.
Essential field repair components include:
- Multi-size fabric patches – Pre-cut patches ranging from 2-inch to 4-inch squares, color-coded for top and bottom surfaces to validate proper material compatibility
- Cleaning supplies – Alcohol wipes, camp soap, and abrasive pads for surface preparation, plus cloth for drying the repair area
- Testing tools – Flashlight for leak detection, marking tools for location identification, and weighted objects for pressing repairs during curing
Store everything in a compact pouch within your pad’s stuff sack for immediate access during field repair situations. Many sleeping pads include a repair kit in the interior pocket of the stuff sack, providing convenient access to essential materials after removing the pad. Keeping duct tape readily available provides an emergency temporary fix when standard patching materials aren’t sufficient for larger tears.
Step-by-Step Leak Detection Methods
Before you can repair your sleeping pad, you’ll need to pinpoint exactly where air is escaping. Effective leak diagnosis starts with the soapy water test. Mix dish soap with water and spray the inflated pad systematically. Bubbles form at leak points, making them visible.
For detailed inspection, use the submersion method. Submerge sections in a bathtub and watch for air bubbles. Apply pressure by kneeling on semi-inflated areas to expose hidden leaks. Check valve areas first-they’re common failure points due to mechanical stress.
Examine creases, seams, and high-stress zones carefully. Use sectional inspections for large pads to isolate problem areas. Mark discovered leaks with permanent marker immediately. Be prepared for multiple attempts as it may require several testing rounds to successfully find all leaks.
Don’t forget the pad’s underside. Pay special attention to dual valves found on models like Big Agnes Captain Comfort and Sea to Summit Ether Light XT, as these complex valve systems can develop leaks at multiple points. These systematic repair techniques guarantee thorough detection before applying patches or sealants.
Proper Cleaning and Preparation Techniques
Before attempting any repair, you must thoroughly clean the damaged area to guarantee proper adhesion of patches and sealants.
Surface contaminants like dirt, oils, and residue from previous repairs will prevent adhesives from forming strong bonds with the pad material.
Proper preparation involves specific cleaning techniques and complete drying procedures that create ideal conditions for successful, long-lasting repairs.
Surface Cleaning Methods
Anyone can transform a dirty, odor-laden sleeping pad back to its original condition with the right cleaning approach and materials. Effective surface cleaning techniques require specific cleaning agents and systematic methods to protect your pad’s integrity.
Use mild, non-detergent soap mixed with lukewarm water as your primary cleaning solution. Harsh detergents deteriorate fabric and foam components, compromising waterproof coatings. ReviveX odor eliminators handle mold and mildew smells effectively.
Essential cleaning techniques include:
- Soft cloth wiping – Dampen cloth with cleaning solution for gentle surface treatment
- Soft-bristled brushing – Clean textured surfaces and grooves without fabric damage
- Spot stain treatment – Apply detergent directly, rub gently, then rinse thoroughly
Never soak or submerge your pad. Keep valves closed during cleaning to prevent water ingress. Rinse all soap residues completely to avoid material breakdown.
Preparation Before Patching
Once you’ve completed surface cleaning, successful patch repairs depend entirely on meticulous preparation that creates ideal bonding conditions for your adhesive.
Your prep checklist starts with thorough area cleaning using rubbing alcohol as a solvent. This removes oils and residue that compromise adhesive performance.
Dry the puncture zone completely with a towel-moisture prevents proper bonding.
Smooth out all creases and folds around the repair site. Wrinkled material creates air pockets that weaken patch integrity.
Select appropriate patch sizing from your repair kit, ensuring coverage extends beyond the puncture perimeter.
Apply a thin, even adhesive layer to avoid excessive build-up that creates uneven surfaces.
These patching strategies establish favorable conditions for long-lasting repairs.
Proper preparation determines whether your fix holds through multiple inflation cycles and field conditions.
Adhesive Application and Patch Placement
After you’ve thoroughly cleaned the puncture site and confirmed it’s completely dry, applying the adhesive requires precision and patience to guarantee a lasting repair.
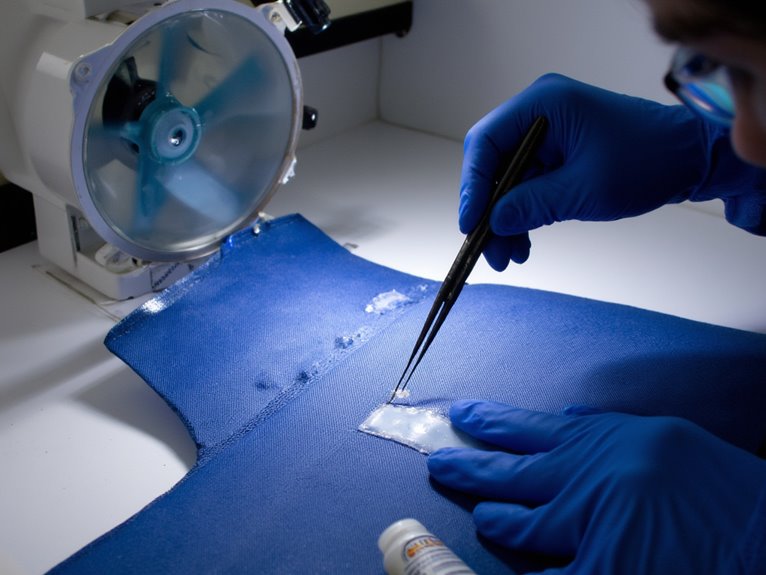
Use silicone-based adhesives like Gear Aid’s Seam Grip WP Sealant for ideal adhesive consistency. Apply a thick layer covering at least ¾” (20mm) diameter around the damage.
Here’s the proper application sequence:
- Apply even pressure while spreading adhesive to eliminate air pockets and maintain uniform coverage.
- Allow two-hour minimum curing time before proceeding with patch placement or inflation attempts.
- Position patch carefully over cured adhesive, ensuring proper patch alignment extends ¾” beyond hole edges.
Remove patch backing without contamination. Smooth from center outward, applying firm pressure for 30 seconds. Use weighted objects to maintain contact during final curing.
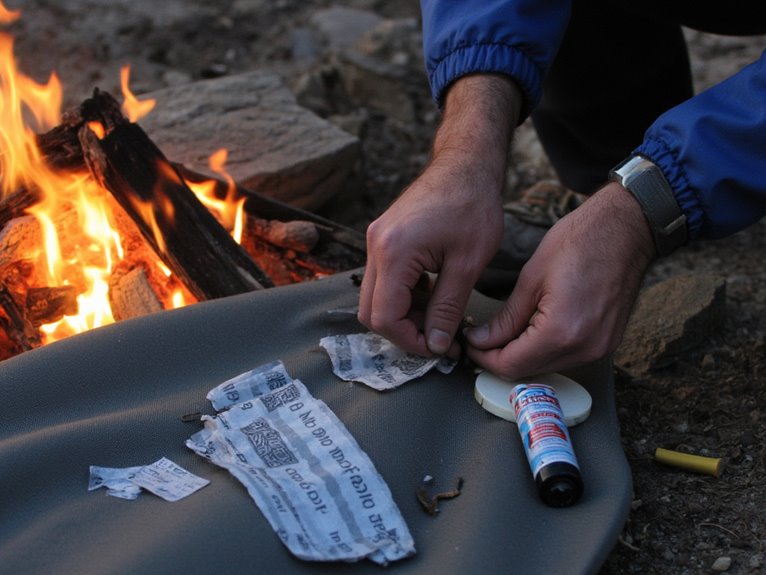
Field Repair Strategies for Emergencies

When you’re miles from civilization and discover your sleeping pad has developed a leak, quick thinking and proper field repair techniques can mean the difference between a comfortable night’s rest and a miserable experience on the cold ground.
Emergency situations demand efficient field repair strategies. Tenacious Tape provides immediate sealing for punctures up to 3mm diameter. Apply firm pressure for 60 seconds to guarantee adhesion. Seam Grip offers versatile emergency patching when tape isn’t sufficient.
| Repair Method | Application Time | Effectiveness Duration |
|---|---|---|
| Tenacious Tape | 60 seconds | 24-48 hours |
| Seam Grip | 5 minutes | 12-24 hours |
| Periodic Re-inflation | 30 seconds | 2-4 hours |
Prioritize safety over comfort. Minor leaks allow continued use with periodic re-inflation every 2-4 hours. Severe damage requires switching to backup insulation or ground padding to prevent hypothermia.
Safety Guidelines During the Repair Process

How can you protect yourself and achieve successful repairs while working with sleeping pad materials and adhesives?
Repair material safety requires strict adherence to manufacturer instructions and proper protective equipment. You’ll need protective gloves when handling strong adhesives and a mask to prevent fume inhalation. Ventilation importance can’t be overstated-chemical buildup poses serious health risks.
Always follow manufacturer guidelines and wear proper protective equipment when handling repair adhesives to prevent serious health risks from chemical exposure.
Essential safety protocols include:
- Workspace preparation – Create a clean, debris-free area with drop cloth protection and keep pets and children away from chemical materials.
- Personal protection – Wear gloves, use respiratory masks, and guarantee adequate airflow to prevent dangerous fume concentration.
- Material handling – Deflate pads completely, use gentle pressure during application, and dispose of leftover chemicals responsibly according to local regulations.
Testing Your Repairs for Effectiveness
After applying your patch, you’ll need to verify the repair’s effectiveness through systematic testing procedures.
Start with immediate post-repair inflation testing, then establish long-term monitoring methods to track air retention over extended periods.
Use soap verification techniques to detect any remaining micro-leaks that might compromise your sleeping pad’s performance in the field.
Post-Repair Inflation Testing
Once you’ve completed your sleeping pad repair, testing becomes the critical step that determines whether your work will hold under real-world conditions. Proper repair techniques mean nothing without rigorous testing protocols to verify their effectiveness.
Your testing process should follow these systematic steps:
- Weight Test: Place heavy objects like textbooks on your fully inflated pad overnight to simulate body weight and sleeping pressure.
- Soap Solution Detection: Apply soapy water mixture to repaired areas and check for bubble formation indicating air leaks.
- Submersion Verification: Submerge the pad in a bathtub while inflated to identify any remaining punctures through visible air bubbles.
Test immediately after repairs dry completely. This prevents discovering failures during actual use when replacement options are limited.
Long-Term Monitoring Methods
While immediate post-repair testing confirms your patch job works initially, the real measure of repair success unfolds over weeks and months of actual use.
Long term durability requires systematic monitoring through multiple methods. Record pad weight before and after each deployment using digital scales to detect incremental air loss over time. Performance degradation often manifests as gradual firmness reduction rather than catastrophic failure.
Conduct regular water submersion tests, comparing bubble formation patterns to baseline measurements. Track deflation times through repeated inflation cycles, logging any changes in firmness retention.
Visual inspections should focus on patch edges, seam integrity, and material fatigue around repair sites. Document environmental exposure and impact incidents in field reports.
This thorough monitoring approach identifies developing issues before they compromise your sleeping system’s reliability during critical backcountry situations.
Verification Using Soap
Documentation and monitoring create the foundation for repair assessment, but immediate verification confirms whether your patch actually works. The soapy solution method provides immediate visual confirmation of repair effectiveness through bubble formation at leak sites.
Apply a thin layer of soapy water across the repaired area using a sponge or spray bottle. The solution creates a visible reaction when air escapes through remaining punctures or inadequate patch adhesion.
Here’s your verification process:
- Inflate the pad to maximum recommended pressure for accurate testing
- Apply soapy solution systematically across the entire repair zone and surrounding areas
- Observe for bubble formation which indicates continued air leakage requiring additional repair
If bubbles appear, deflate the pad and reapply patches. No bubble formation confirms successful repair completion.
When Professional Replacement Is Necessary
Though many sleeping pad issues can be resolved through simple DIY methods, certain types of damage require professional intervention to guarantee proper repair and continued reliability.
Large tears exceeding two inches in diameter typically need professional evaluation to determine the most effective approach. Multiple punctures scattered across the pad’s surface can compromise structural integrity beyond basic patch repairs.
Extensive damage beyond simple patching compromises pad integrity and requires professional assessment for effective restoration.
Internal foam damage in self-inflating mats requires specialized repair techniques that aren’t accessible to most users. Faulty valves that can’t be replaced with standard parts need professional attention.
Material deterioration from prolonged use creates recurring failures that professionals handle more effectively. Complex repairs requiring hydraulic dunk tanks for leak detection justify professional services.
High-quality pads with specialized materials often warrant professional repair over replacement, especially when warranty coverage applies. Professional repair services are particularly valuable for premium pads constructed with durable nylon and TPU coating, which require specific techniques to maintain their enhanced longevity.
Preventive Maintenance to Avoid Future Damage

Implementing proper preventive maintenance greatly extends your sleeping pad’s lifespan while reducing the frequency of repairs or replacements. Routine inspections before and after each use help identify minor issues before they become major problems.
Damage prevention strategies protect your investment and guarantee reliable performance during critical outdoor adventures.
Essential preventive maintenance includes three key practices:
- Regular valve cleaning and inspection – Remove debris with soft cloths and check for air leaks using soap bubble tests to maintain ideal seal integrity.
- Proper storage protocols – Store pads uncompressed in cool, dry locations with valves open to prevent mildew and preserve internal foam structure.
- Field protection measures – Use groundsheets beneath pads and inspect camping areas for sharp objects that could puncture or tear the sleeping surface.
Frequently Asked Questions
How Long Do Sleeping Pad Repairs Typically Last Before Needing Redoing?
Your repair longevity depends on several durability factors.
Permanent home repairs using proper adhesives typically last entire seasons or years when executed correctly.
Field repairs provide temporary fixes lasting days to weeks.
Small punctures repair more permanently than large tears.
Proper surface preparation, adequate curing time, and quality materials greatly extend repair lifespan.
You’ll likely get multiple seasons from well-executed permanent patches.
Can Different Sleeping Pad Brands Use the Same Repair Patches and Materials?
You’ll find excellent patch compatibility across different sleeping pad brands despite apparent brand differences.
Universal materials like Tenacious Tape, silicone adhesive, and Seam Grip work effectively on most manufacturers’ products.
While brands like Therm-A-Rest and Sea to Summit offer specific repair kits, these typically contain standard materials that function across brands.
The key factors are matching fabric types and adhesive chemistry rather than brand loyalty.
What Temperature Conditions Are Best for Applying Patches and Adhesives Effectively?
You’ll achieve peak adhesive effectiveness when applying patches between 15°C and 25°C (59°F to 77°F).
This ideal temperature range guarantees proper bonding and prevents curing problems.
Cold temperatures below 15°C slow adhesive activation and create weak bonds, while heat above 30°C makes adhesives too tacky or causes rapid drying.
You should work indoors or in sheltered areas with stable temperatures for maximum patch durability.
How Many Times Can the Same Area Be Repaired Before Replacement?
You can typically repair the same area 2-3 times before patch durability becomes compromised.
Each repair frequency cycle weakens the material’s structural integrity. The first repair usually holds well, but subsequent patches create stress points around existing repairs.
After three repairs in one location, you’ll notice reduced adhesion strength and increased air leak risk. Material fatigue becomes evident, making replacement more cost-effective than continued repairs.
Do Warranty Claims Become Void After Attempting DIY Sleeping Pad Repairs?
Your warranty typically becomes void if you attempt unauthorized DIY solutions before contacting the manufacturer.
Most warranty policies explicitly state that repairs must use official patch kits or be performed by authorized service centers.
Using unapproved adhesives or patches immediately nullifies coverage, even if the repair succeeds.
You should always check warranty terms and contact manufacturer support first to preserve your coverage options.
On a final note
You’ve now learned the complete repair process for damaged sleeping pads. Most punctures, tears, and valve issues can be fixed using proper detection methods, cleaning techniques, and quality adhesive patches. Follow the safety guidelines and test your repairs thoroughly before heading outdoors. If damage exceeds 3 inches or affects structural seams, you’ll need professional replacement. Regular maintenance and careful storage will extend your pad’s lifespan considerably.


