How to Clean a Sleeping Bag
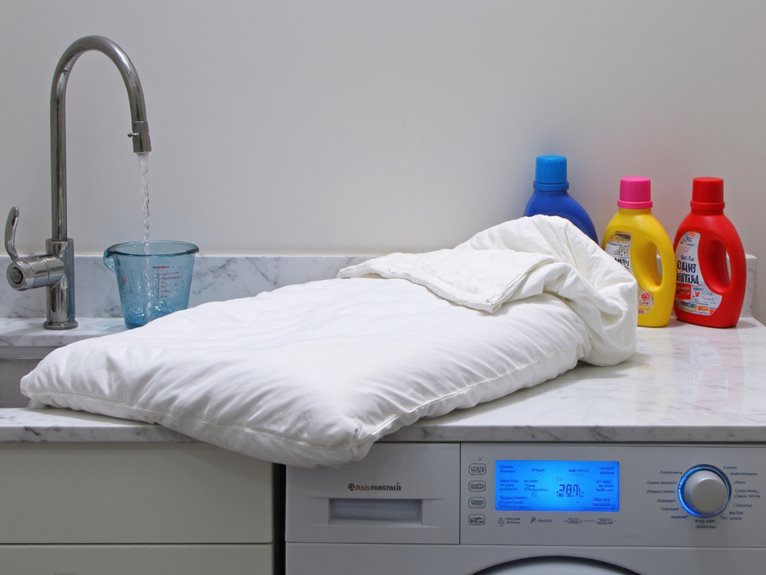
You’ll know your sleeping bag needs cleaning when you notice reduced loft, persistent odors, or visible stains that compromise insulation performance. Use a front-loading washing machine with mild down-specific detergent for down bags, or gentle regular detergent for synthetic materials. Keep water temperature below 40°C (100°F) and soak for 10-60 minutes depending on soil level. Rinse thoroughly until water runs clear, then dry on low heat with tennis balls to restore loft and maintain thermal efficiency for years of reliable outdoor performance.
We are supported by our audience. When you purchase through links on our site, we may earn an affiliate commission, at no extra cost for you. Learn more. Last update on 17th January 2026 / Images from Amazon Product Advertising API.
Notable Insights
- Check for stains, reduced loft, clumped insulation, and persistent odors to determine when cleaning is necessary.
- Use a front-loading washing machine with mild down-specific detergent for down bags; synthetic bags are more forgiving.
- Keep water temperature below 40°C (100°F) and soak the bag for 10-60 minutes based on soil level.
- Gently massage soiled areas by hand and press against tub sides rather than wringing to avoid damage.
- Rinse thoroughly until water runs clear to remove all soap residue that could affect insulation performance.
Determining When Your Sleeping Bag Needs Cleaning
When should you clean your sleeping bag? Visual indicators provide the clearest signals. Look for obvious stains, discoloration around the hood and collar, or visible grime accumulation in seams. Check for darkened areas from sweat and body oils.
Performance degradation demands immediate attention. Your bag needs cleaning when it feels less fluffy, shows reduced loft, or exhibits clumped insulation. Down fill that won’t bounce back after compression indicates contamination affecting warmth-to-weight ratios.
Odor prevention requires proactive maintenance frequency. Clean your bag when musty smells persist after airing out, especially if odors worsen when packed tightly. Body oils and residues can cause long-term damage if allowed to accumulate over time.
Schedule cleaning after back-to-back trips, unexpectedly dirty conditions, or high-frequency use. Clean annually minimum with regular use, and always before seasonal storage to prevent fill migration and fabric degradation. For minor issues, consider spot cleaning individual stains before committing to a full wash cycle.
Understanding Down Vs Synthetic Sleeping Bag Care
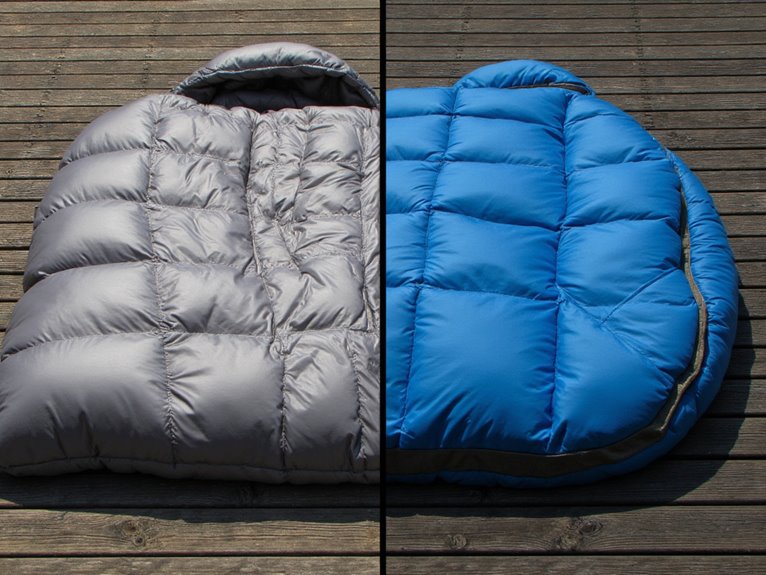
Although both down and synthetic sleeping bags serve the same fundamental purpose, they require markedly different cleaning approaches due to their distinct insulation properties.
Down insulation demands specialized care to maintain its loft and warmth-to-weight ratio. You’ll need front-loading washing machines, mild down-specific detergents, and careful drying with dryer balls.
Synthetic insulation proves more forgiving during cleaning procedures. Using a sleeping bag liner can significantly reduce how often you need to perform full washes on either type of bag.
Key differences in care requirements:
- Washing frequency: Down bags should be cleaned minimally; synthetic bags tolerate regular washing.
- Machine type: Down requires front-loaders; synthetic handles top-loaders adequately.
- Detergent selection: Down needs specialized soaps; synthetic accepts gentle regular detergents.
- Drying sensitivity: Down demands low heat with constant fluffing; synthetic dries more tolerantly.
Down products can last for decades if maintained properly, making proper cleaning technique essential for preserving your investment.
Understanding these material differences guarantees you’ll maintain your bag’s insulation performance and extend its operational lifespan greatly.
Gathering Essential Cleaning Materials and Supplies
Five essential categories of supplies determine your cleaning success before you begin the actual washing process. Non-detergent soap forms your primary cleaning agent-woolite, Nikwax, or specialized cleaners protect insulation integrity while household detergents cause permanent damage.
Specialized non-detergent cleaners like Woolite or Nikwax preserve insulation integrity while household detergents permanently damage sleeping bag materials.
You’ll need appropriate tools: soft toothbrushes, lint-free towels, and large tubs accommodate the bag’s bulk during washing.
Water supplies require careful planning. Cool to warm temperatures prevent insulation damage, while sufficient volume enables complete submersion and multiple rinse cycles.
Your drying equipment proves equally critical-commercial dryers with low-heat settings and clean tennis balls restore down loft effectively. Store your cleaned sleeping bag in a storage cube or loose in a box to maintain proper loft and prevent compression damage.
Cleaning frequency affects soap types selection. Frequent washers benefit from milder formulations, while heavily soiled bags require stronger specialized cleaners. Remove all excess dirt and debris from pockets and zippers before beginning the washing process.
Gather protective gloves, arrange laundromat access if needed, and review manufacturer instructions before proceeding.
Selecting the Right Water Temperature and Detergent
Two critical decisions shape your sleeping bag’s cleaning outcome: water temperature selection and detergent choice.
Your water temperature must never exceed 40°C (100°F) to prevent synthetic insulation damage or down clumping. Cold water protects delicate fabrics and waterproof coatings, while warm water effectively removes oils without harming materials.
For ideal detergent selection, follow these guidelines:
- Use technical fabric cleaners specifically formulated for sleeping bags.
- Choose down-specific products for down-filled bags to preserve natural oils.
- Avoid regular detergents containing enzymes or brighteners that damage insulation.
- Apply sparingly to prevent residue buildup affecting breathability.
Match your detergent with appropriate temperatures for maximum cleaning efficiency. Use only a small amount of specialized detergent to avoid overwhelming the fabric’s delicate structure. Complete drying is essential to prevent mildew growth that can damage your sleeping bag permanently.
Always complete two rinse cycles to eliminate soap residues that attract dirt and reduce insulation performance.
Effective Spot Cleaning for Minor Stains and Odors
Most stains and odors don’t require a full washing cycle when you address them quickly with proper spot cleaning techniques. Effective fabric care starts with identifying the stain type and location before treatment.
| Area | Common Stains | Cleaning Method |
|---|---|---|
| Hood/Collar | Hair oils, sweat | Gentle dabbing with mild solution |
| Shell exterior | Food, dirt, mud | Non-detergent soap with soft cloth |
| Foot section | Moisture, odors | Lukewarm water rinse, air dry |
Mix Nikwax Tech Wash with lukewarm water for synthetic fills or Down Wash for down insulation. Dab stains gently using a soft cloth-never scrub. Rinse with clean water using another cloth. Air dry completely before storage. This spot cleaning approach preserves fabric integrity while maintaining insulation properties.
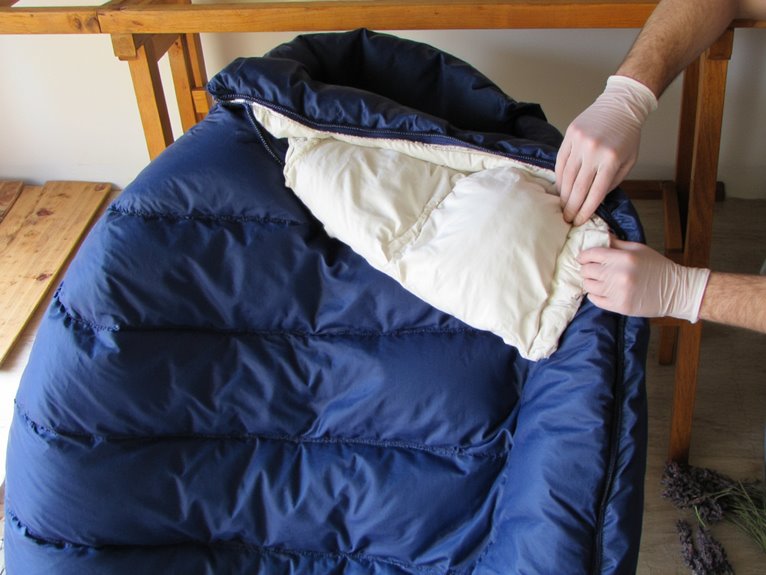
Before beginning any cleaning process, carefully inspect your sleeping bag for nicks and tears that should be patched to prevent further damage during washing.
Avoid scrubbing the fabric as this can cause damage to both the material and the internal structure of your sleeping bag.
Protecting Insulation During Targeted Cleaning
When you move beyond spot cleaning to address larger areas or persistent odors, your sleeping bag’s insulation becomes vulnerable to permanent damage if you don’t follow proper protection protocols.
Effective insulation protection requires strategic cleaning frequency management. Clean your bag only once annually under average use conditions to prevent degradation of down clusters or synthetic fill.
Follow these critical protection steps:
- Minimize agitation by using gentle washing methods that prevent fabric stress and stitching damage.
- Secure fill migration with safety pins on unquilted areas and keep zippers closed during cleaning.
- Select appropriate products using mild down soap or performance wash designed for synthetic materials.
- Control temperature exposure by avoiding high heat that compromises insulation properties permanently.
These protocols maintain your bag’s thermal efficiency while extending its operational lifespan considerably.
Step-by-Step Full Washing Process
Once you’ve prepared your sleeping bag for washing, you’ll need to execute the actual cleaning process with careful attention to soaking duration and water agitation techniques.
The key lies in allowing sufficient time for detergent penetration while using gentle movement that won’t compress or damage the insulation fibers.
Proper rinsing and water extraction techniques will guarantee complete detergent removal without compromising the bag’s thermal properties or structural integrity.
Soaking and Gentle Agitation
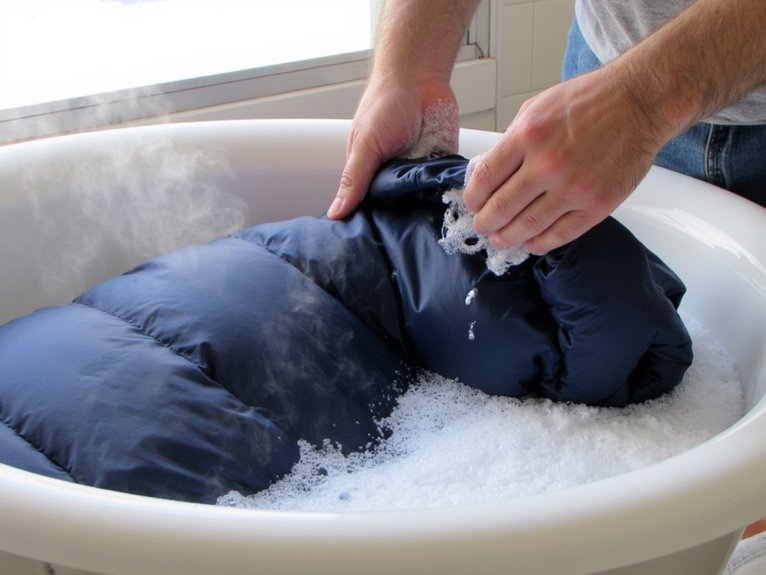
After you’ve prepared your cleaning solution and identified your bag’s fill material, the soaking process becomes the foundation for effective cleaning without damaging delicate insulation. Fill a large tub with cool water and add your down-specific or synthetic detergent. Submerge the bag completely, making certain water penetrates all areas.
These soaking techniques require careful timing and gentle handling:
- Soak duration: Allow 10-60 minutes for soap penetration
- Water temperature: Use cool to warm water only
- Agitation methods: Gently massage heavily soiled areas by hand
- Coverage check: Verify complete submersion throughout the process
Avoid aggressive manipulation that damages shell fabric or compresses fill material. Turn synthetic bags inside out for shell protection.
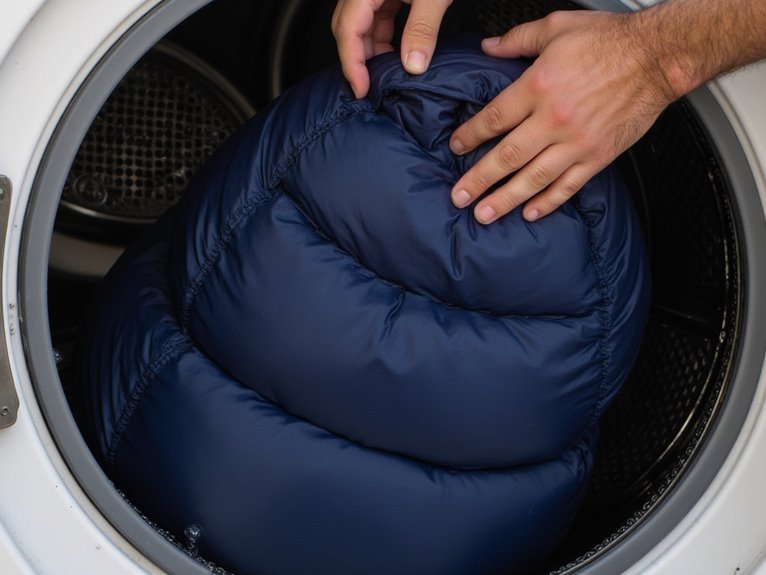
Down bags require front-loading machines without agitators when machine washing becomes necessary.
Rinsing and Water Removal
Thorough rinsing removes soap residue that can compromise your sleeping bag’s insulation performance and create uncomfortable buildup over time.
Fill your bathtub with cool or warm water and submerge the bag completely. Gently agitate the fabric to work out embedded soap. Let it sit for fifteen minutes to facilitate complete removal. Repeat this process until water runs clear-this indicates successful soap elimination.
Rinsing techniques require patience and multiple cycles. Press the bag against tub sides rather than wringing to avoid damaging insulation.
Water removal becomes critical once rinsing concludes. Drain the tub and continue pressing until minimal water remains. Support the bag’s weight when transferring to prevent tearing. Break up any insulation clumps by hand before proceeding to the drying phase.
Proper Soaking and Agitation Techniques
Once you’ve prepared your sleeping bag for washing, you’ll need to focus on three critical aspects: determining the ideal soaking duration based on soil level and bag materials, applying gentle agitation methods that won’t damage the insulation, and ensuring proper soap distribution throughout the entire bag.
The soaking phase typically ranges from 10 to 60 minutes depending on how dirty your bag is and whether it contains down or synthetic fill.
Proper agitation and soap distribution require careful technique to clean effectively while preserving your bag’s loft and thermal performance.
Optimal Soaking Duration
Sixty minutes represents the maximum soaking duration for sleeping bags, providing sufficient time for cleaning agents to penetrate fabric fibers and loosen embedded dirt without risking material damage.
This soaking duration allows thorough cleaning while protecting insulation integrity.
Follow these cleaning techniques for ideal results:
- Prepare water temperature – Use cool or warm water only, never hot
- Add cleaning product – Mix down wash or synthetic detergent before submerging bag
- Monitor soaking time – Don’t exceed one hour to prevent fabric damage
- Maintain water depth – Fill tub with approximately 5 inches of clean water
After the hour-long soak, drain water completely and begin rinsing immediately.
Multiple rinse cycles remove all soap residue effectively.
Proper soaking duration maximizes cleaning effectiveness without compromising your sleeping bag’s structural integrity or insulation properties.
Gentle Agitation Methods
While your sleeping bag soaks, you’ll need to create gentle movement in the water to distribute cleaning agents throughout the fabric and insulation.
Gentle agitation provides cleaning benefits by ensuring even detergent distribution without damaging delicate materials.
Use your hands to massage the submerged bag with light pressure. Apply circular motions working from top to bottom. Alternatively, enter the bathtub and gently step on the bag with bare feet, avoiding excessive weight concentration on single areas.
Maintain agitation for 3-5 minutes maximum. Down-filled bags require extra care to prevent clumping of insulation clusters. Synthetic insulation tolerates slightly more movement but still demands restraint.
Never use aggressive twisting or wringing motions. Avoid top-loading machines with central agitators completely. Front-loading washers without agitators offer acceptable alternatives for oversized bags.
Soap Distribution Techniques
Three critical factors determine successful soap distribution in your sleeping bag: timing, concentration, and application method. Proper soap application requires water penetration before introducing cleaning agents. Excess soap creates cleaning challenges by leaving residues that compromise insulation performance.
Follow these essential distribution techniques:
- Initial Water Penetration – Soak the inverted, zipped bag in warm water for 10-60 minutes before adding soap
- Hand Kneading Method – Use hands or feet to work soap through fibers without damaging seams
- Spot Treatment Application – Create soap paste for heavily soiled areas like hood and collar sections
- Rolling Compression Technique – Repeatedly squeeze the bag to expel soapy water and guarantee even distribution
Avoid machine agitation unless your washer features delicate settings. Hand agitation remains the safest approach for both down and synthetic fills.
Thorough Rinsing and Water Removal Methods

Once you’ve completed the washing phase, proper rinsing becomes critical to prevent soap residue from compromising your sleeping bag’s insulation and fabric integrity. Fill your tub with cool water and gently work soap from the fabric without wringing. Multiple rinses guarantee complete soap removal-typically three to four water changes.
| Step | Duration | Key Action |
|---|---|---|
| Initial Rinse | 15 minutes | Soak and agitate gently |
| Soap Removal | 10 minutes | Press water through fabric |
| Final Check | 5 minutes | Inspect for residue |
Remove water through gentle squeezing motions. Press heavily insulated areas manually to expel trapped water. Different sleeping bag types require adjusted cleaning frequency-synthetic bags tolerate more frequent washing than down alternatives. Carry the wet bag in a compressed ball to prevent seam stress during transport.
Machine Drying With Tennis Ball Technique
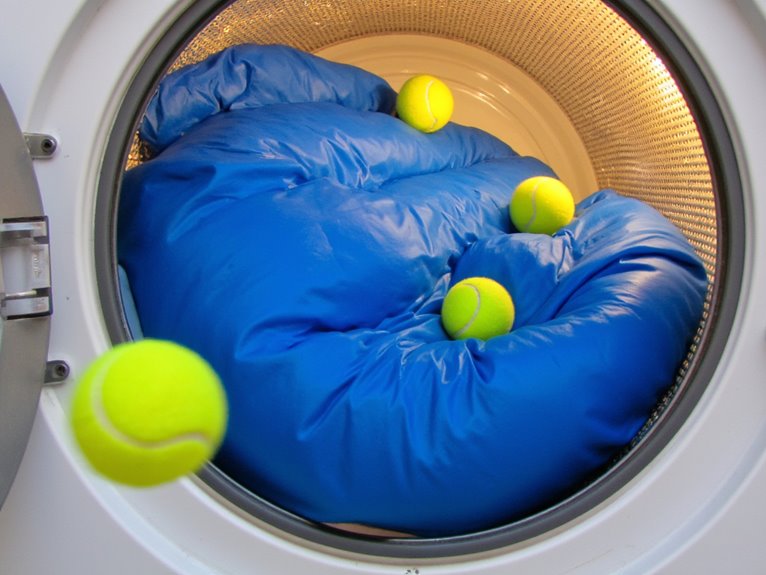
You’ll need to use a machine dryer with proper settings and tennis balls to effectively dry your sleeping bag while maintaining its insulation properties.
Set your dryer to low heat and add 2-3 clean tennis balls to break up down clumps and restore loft during the drying process. The tennis balls will bounce around inside the dryer, preventing your sleeping bag’s filling from compressing and ensuring even heat distribution throughout the fabric.
Tennis Ball Benefits
Two simple tennis balls can transform your sleeping bag drying process from a potential disaster into a controlled restoration of your gear’s original performance.
These inexpensive tools address critical drying challenges that threaten your sleeping bag essentials through mechanical agitation and heat distribution.
The tennis ball method delivers four key advantages:
- Prevents down clumping by continuously breaking apart compressed insulation clusters
- Maintains original loft through constant mechanical separation of down fibers
- Reduces drying time by promoting even heat circulation throughout the bag
- Minimizes fabric damage by preventing insulation from bunching against outer materials
Major manufacturers like Western Mountaineering specifically recommend this technique.
You’ll need two to three clean tennis balls for ideal results.
This cleaning technique costs less than commercial dryer balls while delivering superior clump-breaking efficiency through consistent tumbling action.
Proper Dryer Settings
While tennis balls provide the mechanical action needed to prevent clumping, selecting appropriate dryer settings determines whether your sleeping bag emerges pristine or permanently damaged.
Set your dryer to low heat exclusively. High temperatures melt synthetic fills and destroy down’s natural loft structure.
Monitor dryer timing carefully, as machines vary greatly in heat output. Check your bag every 20-30 minutes during the drying cycle. This prevents overheating damage that occurs when internal temperatures exceed fabric tolerances.
Use tumble dry low settings consistently throughout the process. Effective drying techniques require patience-expect 2-4 hours depending on your bag’s insulation type and thickness.
Remove excess water with an additional spin cycle before transferring to the dryer. Confirm complete dryness before storage to prevent mildew formation.
Air Drying Best Practices and Tips
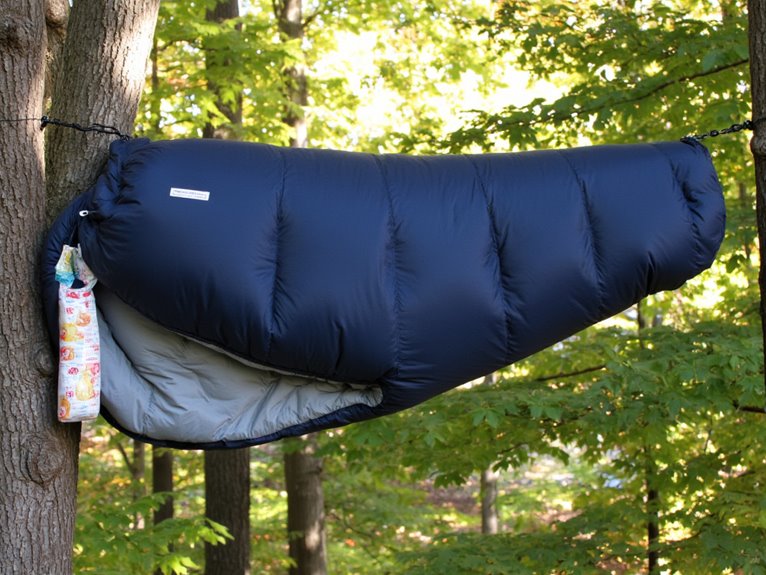
Once you’ve finished washing your sleeping bag, proper air drying becomes critical for maintaining insulation integrity and preventing permanent damage.
Implementing effective drying techniques prevents costly repairs and extends equipment lifespan.
Follow these essential air drying procedures:
- Surface preparation – Lay flat on clean towels or drying racks with ideal airflow.
- UV protection – Use partial shade to balance drying speed with fabric preservation.
- Insulation management – Flip and gently massage filling every 2-3 hours to prevent clumping.
- Moisture monitoring – Check for damp spots throughout the 8-24 hour drying cycle.
Never hang by loops or expose to direct heat sources.
Down-filled bags require extra attention during your cleaning schedule.
Expect extended drying times in humid conditions, but thorough moisture removal prevents mildew formation and preserves loft characteristics.
Post-Cleaning Inspection and Long-Term Storage
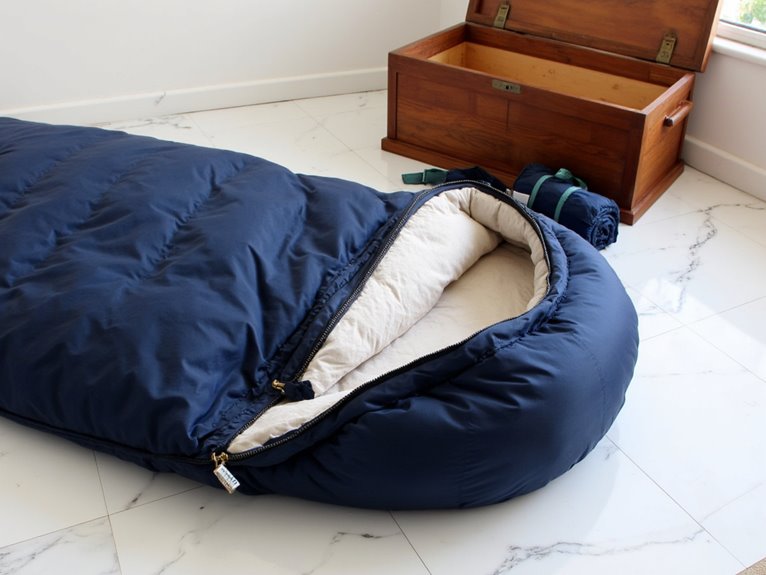
After your sleeping bag has completely dried, conducting a thorough post-cleaning inspection guarantees you’ve identified any damage that requires attention before storage.
Examine zippers for snags, missing teeth, or obstructions. Check seams for loose threads, gaps, or signs of separation. Inspect insulation for clumping in down bags or matting in synthetic fills.
Assess fabric for tears, thin spots, or wear at stress points like the footbox and shoulders.
Proper storage conditions preserve your sleeping bag’s performance and longevity. Store uncompressed using breathable storage sacks or hang freely to maintain insulation loft.
Choose cool, dry, dark locations that prevent UV degradation and humidity damage. Avoid plastic bags that trap moisture and cause mildew.
Never store compressed long-term or in damp outdoor sheds.
Frequently Asked Questions
Can I Wash My Sleeping Bag in a Top-Loading Washing Machine?
You shouldn’t wash your sleeping bag in a top-loading washing machine. The agitator damages delicate fabrics and seams while causing down filling to shift.
Top loading efficiency works against sleeping bag preservation. Instead, follow proper washing instructions using front-loading machines with gentle cycles.
Hand washing provides maximum control for ultralight materials. Choose agitator-free washers if top-loaders are your only option.
How Often Should I Wash My Sleeping Bag During Extended Backpacking Trips?
During extended backpacking trips, you’ll need more frequent sleeping bag maintenance than the standard yearly washing.
Wash every 7-14 days on thru-hikes or when odor becomes noticeable. Dusty or humid conditions accelerate contamination from skin oils, requiring earlier intervention.
For odor prevention, wear clean base layers nightly and air-dry your bag each morning. Spot-clean visible stains immediately using appropriate cleaners to extend time between full washes.
What Should I Do if My Sleeping Bag Still Smells After Washing?
If your sleeping bag still smells after washing, you’ll need aggressive smell removal techniques.
Repeat the wash cycle with enzyme-based cleaners that target odor-causing bacteria. Add white vinegar to your rinse cycle for enhanced odor elimination.
Apply baking soda overnight, then vacuum thoroughly. Expose the bag to direct sunlight for 6-8 hours.
For persistent odors, consider professional cleaning services with specialized equipment.
Is It Safe to Use Fabric Softener on My Sleeping Bag?
Never use fabric softener on your sleeping bag.
Fabric softener effects include chemical buildup that damages fibers, reduces insulation loft, and compromises water repellency.
These coatings interfere with synthetic fill properties and down’s natural loft.
Washing bag recommendations from REI and outdoor experts explicitly advise against fabric softeners.
Use only specialized detergents formulated for technical gear to maintain performance and extend your bag’s lifespan.
Can I Dry Clean My Sleeping Bag Instead of Washing It?
You shouldn’t dry clean your sleeping bag.
Industrial solvents strip natural oils from down feathers, destroying loft and insulation performance.
These harsh chemicals also weaken synthetic fibers in non-down bags. Most manufacturers explicitly advise against dry cleaning to prevent permanent damage.
Instead, use dry cleaning alternatives like hand washing with specialized cleaners or gentle machine cycles.
Proper sleeping bag care involves washing with down-specific or synthetic cleaners, then tumble drying on low heat with tennis balls.
On a final note
You’ve now mastered the complete sleeping bag cleaning process. Regular maintenance extends your bag’s lifespan by 40-60%. Check the fill power and loft after each cleaning cycle. Store your bag uncompressed in a large mesh sack or cotton storage bag. Avoid plastic bags, which trap moisture and promote mildew. Schedule deep cleaning every 20-30 uses for synthetic bags, every 40-50 uses for down. Proper care maintains insulation performance and prevents material degradation.