How to Pack a Sleeping Bag
You’ll achieve ideal sleeping bag compression by stuffing rather than rolling, starting at the foot box to preserve insulation loft. Make sure your bag’s completely dry before packing to prevent mold growth. Use compression sacks to reduce bulk by 30-40%, applying gradual pressure while removing air. Place the compressed bag in your backpack’s bottom compartment for established trails, or attach externally for challenging terrain. Proper preparation and technique maximize space efficiency while maintaining your bag’s thermal performance for years ahead.
We are supported by our audience. When you purchase through links on our site, we may earn an affiliate commission, at no extra cost for you. Learn more. Last update on 17th January 2026 / Images from Amazon Product Advertising API.
Notable Insights
- Ensure your sleeping bag is completely clean and dry before packing to prevent mold and preserve insulation.
- Stuff the bag starting from the foot box rather than rolling to achieve better compression and avoid cold spots.
- Use compression sacks to reduce bulk by 30-40% and apply gradual pressure with body weight while tightening straps.
- Place compressed bags in bottom compartments for trail hiking or attach externally for challenging terrain access.
- Check strap tension every two hours and ensure all buckles are fully engaged to prevent damage during transport.
Preparing Your Sleeping Bag for Packing
Before you can pack your sleeping bag effectively, proper preparation secures peak performance and longevity of your gear.
Sleeping bag cleanliness prevents mold and mildew development that destroys insulation properties. Spot clean stains immediately and confirm complete dryness before storage.
Clean sleeping bags immediately after spotting stains and ensure complete dryness before storage to prevent mold destroying insulation performance.
Air drying techniques involve hanging your bag loosely or laying flat in ventilated areas. Never pack damp gear. Moisture compromises down fill’s loft and synthetic insulation’s thermal efficiency.
Inspect zippers for smooth operation and intact teeth. Check baffles, seams, and drawstrings for damage or wear.
Down bags require compression sacks for ideal space efficiency, while synthetic bags accommodate standard stuff sacks. Consider the bag’s weight and compressibility to determine the most suitable packing method for your specific backpacking needs.
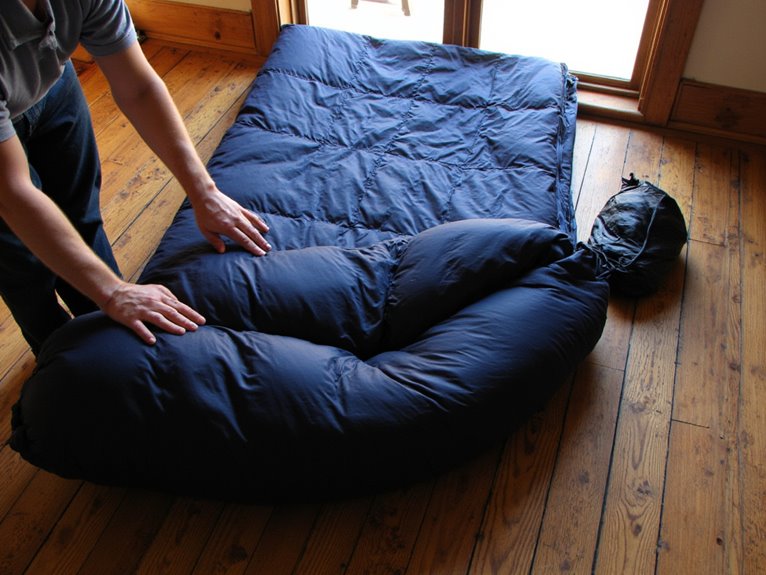
Fluff your bag at room temperature to restore loft before packing. Verify your storage sack’s integrity and cleanliness. Stuffing technique maintains the sleeping bag’s structural integrity better than traditional rolling methods.
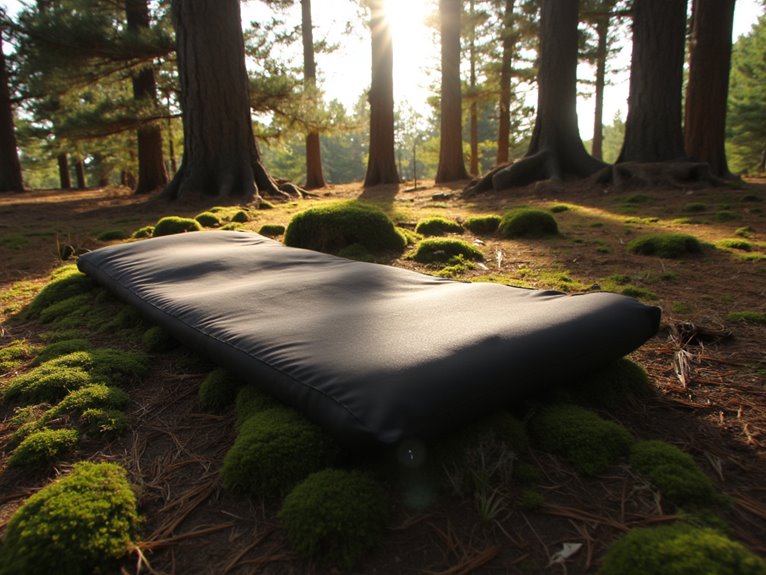
Consider pairing your sleeping bag with a quality sleeping pad featuring 40D nylon construction for enhanced durability and protection against rough terrain.
Proper preparation secures reliable performance when temperatures drop unexpectedly.
Stuffing vs. Rolling: Best Practices
Once your sleeping bag is properly prepped, you’ll face a fundamental packing decision that affects both space efficiency and gear longevity.
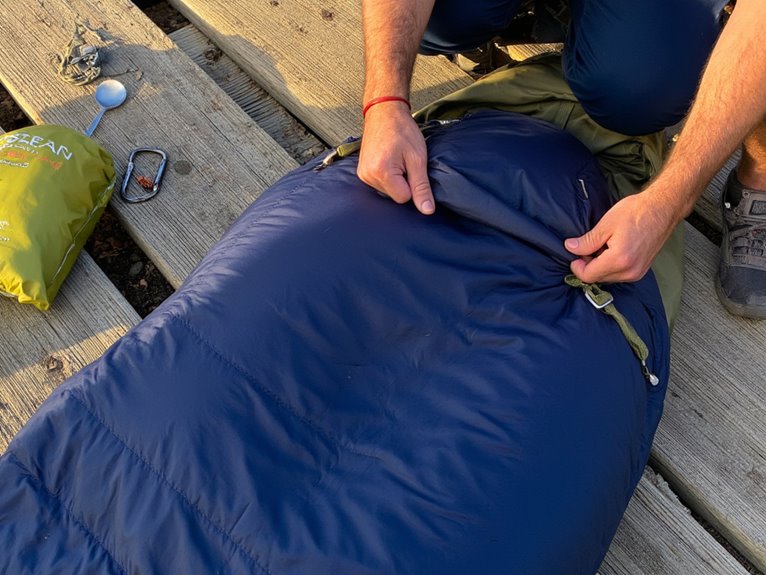
Stuffing advantages include superior compression efficiency and better utilization of backpack dead space. Start at the foot box, gradually pushing the bag into your stuff sack for even compression. This method distributes fill stress evenly, preserving insulation loft over repeated cycles. Stuffing is also faster and avoids consistent creasing of fabric that can develop into weak points over time.
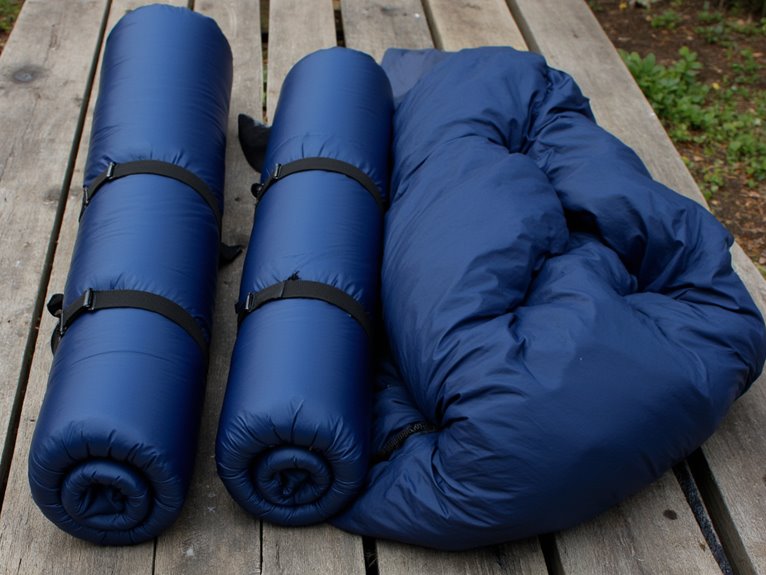
Rolling disadvantages become apparent with repeated use. The same compression points create memory in insulation, potentially shifting fill and creating cold spots. While rolling produces a compact cylinder, it often wastes available backpack space compared to stuffing’s irregular shape that fills gaps.
Manufacturer guidelines consistently recommend stuffing for down and synthetic bags to prevent matting and maintain ideal thermal performance. Proper compression techniques can reduce your packed sleeping bag size by up to 40%, achieving water bottle dimensions for maximum transport efficiency. However, personal preference plays a significant role in determining which method works best for individual campers and their specific gear setup.
Compression Techniques for Maximum Space Savings
Once you’ve stuffed your sleeping bag into its compression sack, you’ll need to master the art of effective compression to achieve maximum space savings.
The key lies in using proper compression sack techniques and applying correct strap tightening methods that won’t damage your gear.
Your compression approach should focus on gradually removing air while applying steady, controlled pressure rather than aggressive force that can stress the bag’s insulation and hardware. Use your body weight to push down on the sleeping bag while tightening the compression straps for optimal results. Quality compression sacks with adjustable straps distribute pressure evenly across the sleeping bag, preventing damage while achieving approximately 40% more space savings than standard stuff sacks. When securing the compressed bag, use a quick release knot to tie off the drawstring, which allows for easy access while maintaining secure compression.
Using Compression Sacks Effectively
When you’re ready to pack your sleeping bag into a compression sack, the technique you use will determine how much space you’ll save and whether you’ll damage your gear.
Start stuffing from the footbox to maintain even compression distribution. Rotate the bag continuously while stuffing to prevent seam stress concentration. The compression sack benefits include reducing sleeping bag volume by 40-60% compared to standard stuff sacks.
Focus on air removal methods during the process. Push air out gently as you stuff, or roll the bag beforehand to expel trapped air. Use your body weight for final compression rather than pulling aggressively on straps. Form a soft ball with the sleeping bag material to facilitate easier stuffing into the compression sack.
Compress in stages to avoid sudden material strain. Never overtighten straps, which can damage nylon compression sack seams or sleeping bag baffles. Consider placing soft gear inside the compression sack alongside your sleeping bag to maximize space efficiency in your backpack.
Proper Strap Tightening Techniques
The compression sack’s full potential becomes accessible only through proper strap tightening techniques that maximize space savings without damaging your gear.
Apply even strap tension across all compression points to prevent seam stress and fabric strain. Distribute the sleeping bag’s weight uniformly while maintaining balance for comfortable hiking. Your straps should feel snug without restricting circulation or creating pressure points.
Ensure buckle security by engaging all locking mechanisms completely before movement. Tighten straps gradually rather than applying sudden force, which prevents breakage and extends equipment lifespan.
Rotate your sleeping bag while compressing to distribute stress evenly across seams. Learn quick adjustment techniques for on-trail modifications without removing your pack entirely. Choose compression methods that preserve the sleeping bag’s thermal efficiency while achieving maximum space reduction.
Regular strap checks during extended hikes prevent unexpected failures. Use your body weight to assist with tightening by leaning forward while pulling compression straps for maximum effectiveness.
Essential Tools and Equipment
Success in packing a sleeping bag depends entirely on having the right tools and equipment before you begin.
Your packing essentials must include a waterproof stuff sack with plastic liner for moisture protection. Compression sacks reduce bulk by 30-40% compared to standard storage methods. Bungee cords and adjustable straps guarantee secure attachment to your pack’s exterior.
Proper bag organization requires specific tools for peak results:
- Compression sack with cord locks – Prevents unwinding and maintains consistent compression
- Waterproof stuff sack liner – Creates barrier against moisture infiltration
- Bungee cords with buckles – Provides flexible, secure attachment points
Multi-tools serve dual purposes for both packing adjustments and emergency repairs. Duct tape offers versatile solutions for gear maintenance.
These components work together systematically to create an efficient packing system that protects your investment while maximizing available space. Quality stuff sacks with ripstop nylon construction provide the durability needed to withstand repeated compression cycles and heavy use during outdoor adventures.
Optimal Backpack Placement Strategies
Strategic placement of your sleeping bag directly impacts hiking comfort, weight distribution, and gear accessibility throughout your journey.
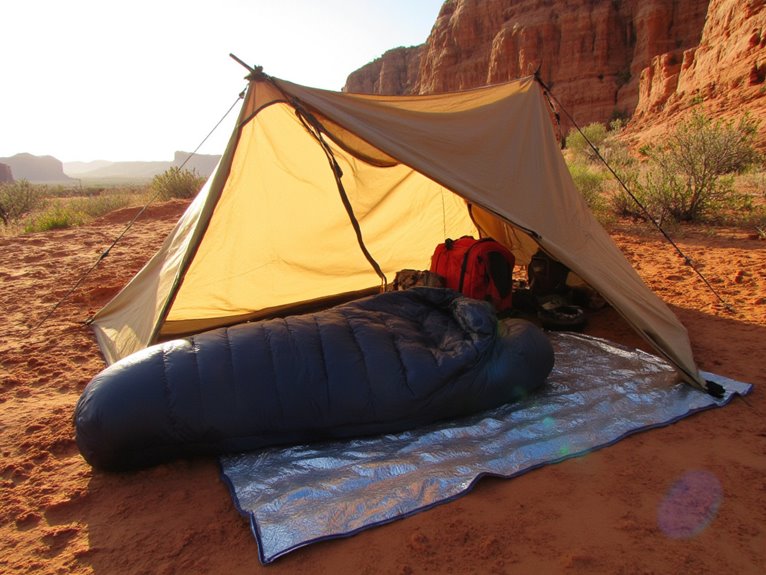
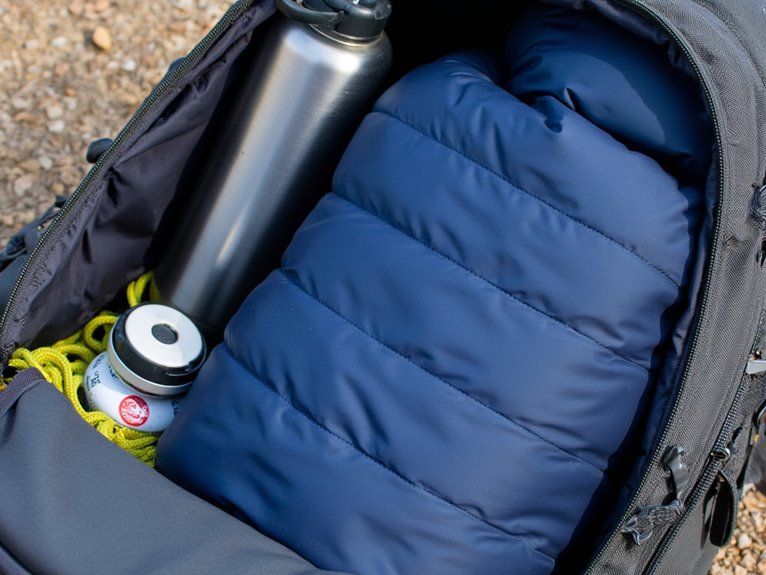
Inside placement offers maximum protection from weather elements and prevents moisture damage. Your backpack’s bottom compartment works best for established trails and day hikes, maintaining ideal center of gravity.
Bottom compartment placement maximizes weather protection while maintaining optimal weight distribution for day hikes and established trail conditions.
Side or front attachment suits challenging terrain where terrain adaptation becomes critical. Weight distribution affects your spine alignment and energy expenditure during extended hikes. Compress your bag to 30-40% of its original size before placement.
Secure attachment points prevent gear loss on rocky trails. Check strap tension every two hours to avoid over-compression damage.
Gear compatibility ensures your sleeping bag integrates seamlessly with other equipment. Balance heavy items near your back’s center while keeping frequently accessed gear within arm’s reach for maximum hiking efficiency. When backpacking with ultralight gear, prioritize weight and packed size according to your specific camping needs to optimize overall pack performance.
Maintenance Tips for Long-Term Performance
Proper maintenance extends your sleeping bag’s lifespan from five years to potentially fifteen or more with consistent care practices.
You’ll preserve insulation effectiveness through strategic cleaning techniques and proper storage practices. Wash only when visibly dirty or after 50 uses-synthetic bags tolerate more frequent cleaning than down-filled options. Annual washing restores lost loft while preventing degradation. Avoid dry cleaning, which destroys down’s natural oils. Complete drying prevents mold and insulation clumping.
Essential maintenance practices include:
- Store in oversized breathable sacks or hang loosely-never use compression sacks for storage
- Air dry both inside-out and right-side-out in indirect sunlight after washing
- Use sleeping bag liners to minimize dirt transfer and reduce cleaning frequency
Address tears immediately to prevent filling loss.
Inspect zippers, drawcords, and fabric regularly for best performance longevity.
Frequently Asked Questions
Can I Pack a Wet Sleeping Bag if I’m in a Hurry?
You can pack a wet sleeping bag in emergencies, but it’s risky. Essential packing tips include gently squeezing out excess water without wringing, then using a waterproof stuff sack.
Moisture concerns are significant-compressed wet insulation loses thermal efficiency and risks mold growth. Avoid full compression if possible.
Unpack and air-dry immediately when you reach your destination to prevent permanent damage to the insulation materials.
How Often Should I Wash My Sleeping Bag During a Long Trip?
Your washing frequency depends on several key factors during extended trips.
You’ll typically need to wash synthetic bags every 7-10 nights of use, while down bags can go 10-15 nights.
Environmental conditions like humidity and dust accelerate this timeline. Monitor loft reduction and odor buildup as indicators.
Spot cleaning extends intervals between full washes.
Consider facility availability when planning your sleeping bag maintenance schedule for ideal hygiene and performance.
What’s the Difference Between Down and Synthetic Insulation for Packing?
You’ll find significant packing differences between insulation types.
Down insulation benefits include superior compressibility and lighter weight-typically 20-30% less than synthetic alternatives. Down compresses to half the size of synthetic fills.
However, synthetic insulation drawbacks include bulkier packing and heavier weight. Synthetic bags require 25-40% more pack space.
Down maintains loft better after compression, while synthetic insulation gradually loses compression recovery over time.
Can I Use Vacuum Bags to Compress My Sleeping Bag at Home?
You can use vacuum compression for short-term home storage of your sleeping bag.
Vacuum bags reduce volume by up to 60% and protect against moisture and dust. However, sleeping bag safety requires limiting compression time-extended vacuum storage damages insulation loft in both down and synthetic fills.
Always verify your bag’s completely dry before sealing, and allow full decompression before use to restore warmth properties.
Should I Pack My Sleeping Bag Differently in Cold Weather?
You should adjust your packing approach for cold weather techniques.
Pack gently to preserve insulation considerations – compressed down or synthetic fill loses loft and warmth retention.
Use compression sacks sparingly, as over-compression damages insulation fibers.
Store your bag loosely when possible.
Add liners for moisture management and pack extra layers like lightweight nylon overbags for temperatures between -10°C and 0°C.
On a final note
You’ve mastered the fundamentals of efficient sleeping bag packing. Your choice between stuffing and rolling depends on your specific gear and trip requirements. Proper compression techniques‘ll maximize your pack’s remaining space for essential equipment. Remember to store your bag uncompressed between adventures-this maintains loft integrity and extends fabric lifespan. Apply these methods consistently, and you’ll optimize both pack weight distribution and sleeping system performance throughout your outdoor expeditions.